
Manual Form Tracking Via Google Tag Manager (GTM)
The below guide explains how a non-developer can implement manual form tracking via GTM
In this example, we will be looking at manual form tracking based on a submit button click.
Step 1 - Create the Tag
Open your Google Tag Manager Container and ensure you are able to create and publish tags, triggers and variables.
From your GTM Overview, select “Add a new tag”
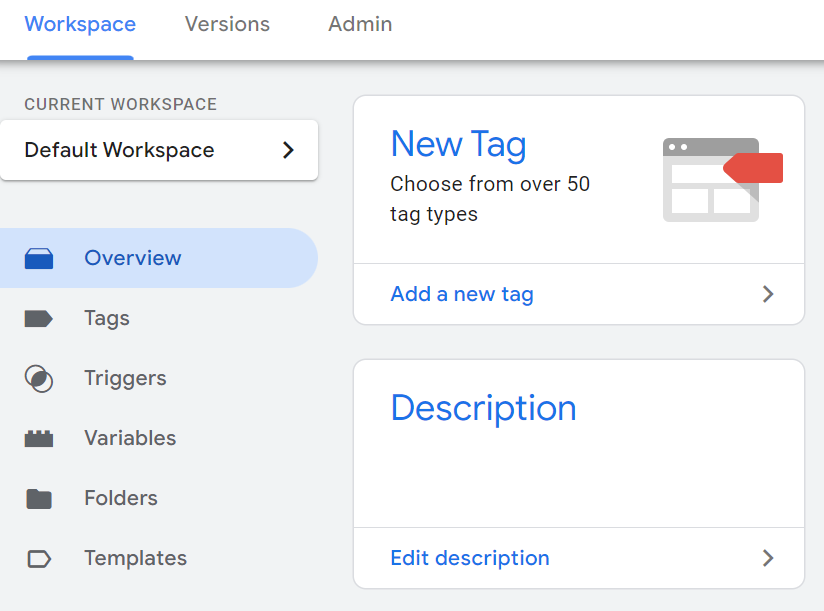
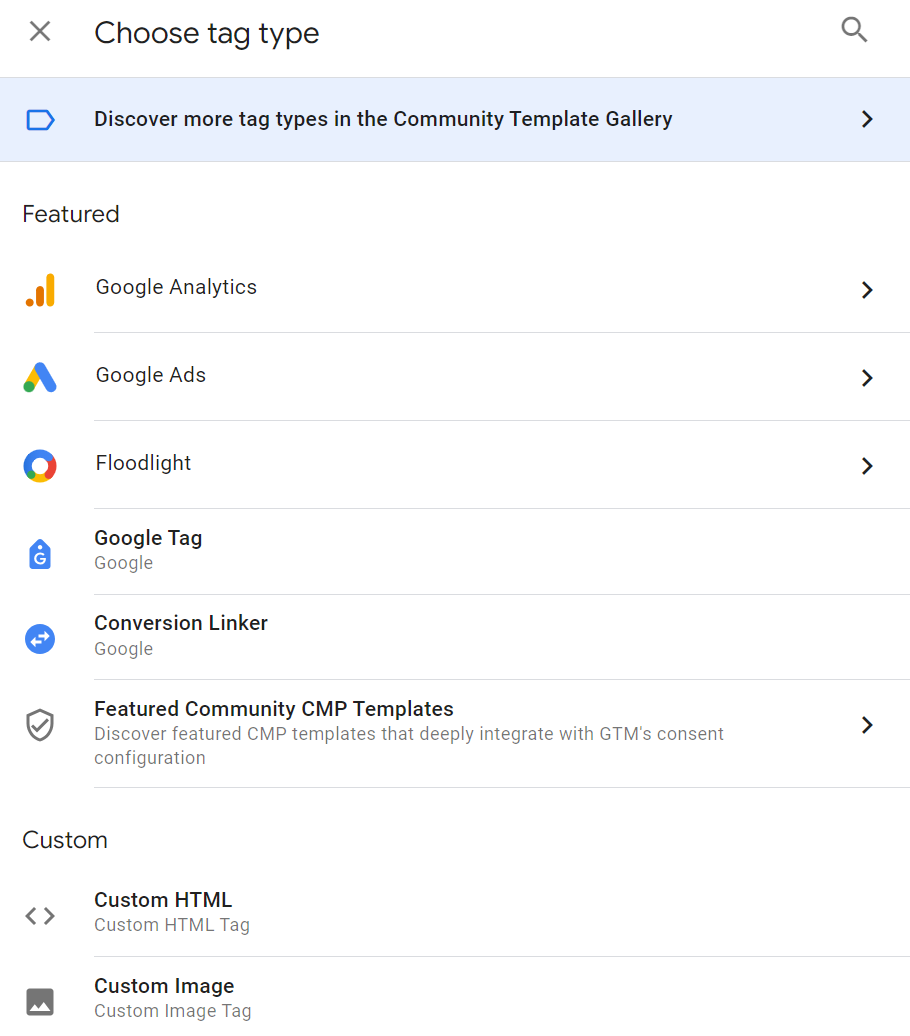
You will be greeted with a blank tag, click the tag configuration button, then select “Custom HTML”
Paste this code into the HTML input box:
<script type="text/javascript">
    var email = "{{Element - Email}}"; // replace with a variable specific to the target form within the curly braces {{}}
    var phone = "{{Element - Phone}}"; // replace with a variable specific to the target form within the curly braces {{}}
    var RAConv = {
        Email: email,
        Phone: phone
    };
    RulerAnalytics.trackConversionAsync(RAConv, "", "", 500);
</script>
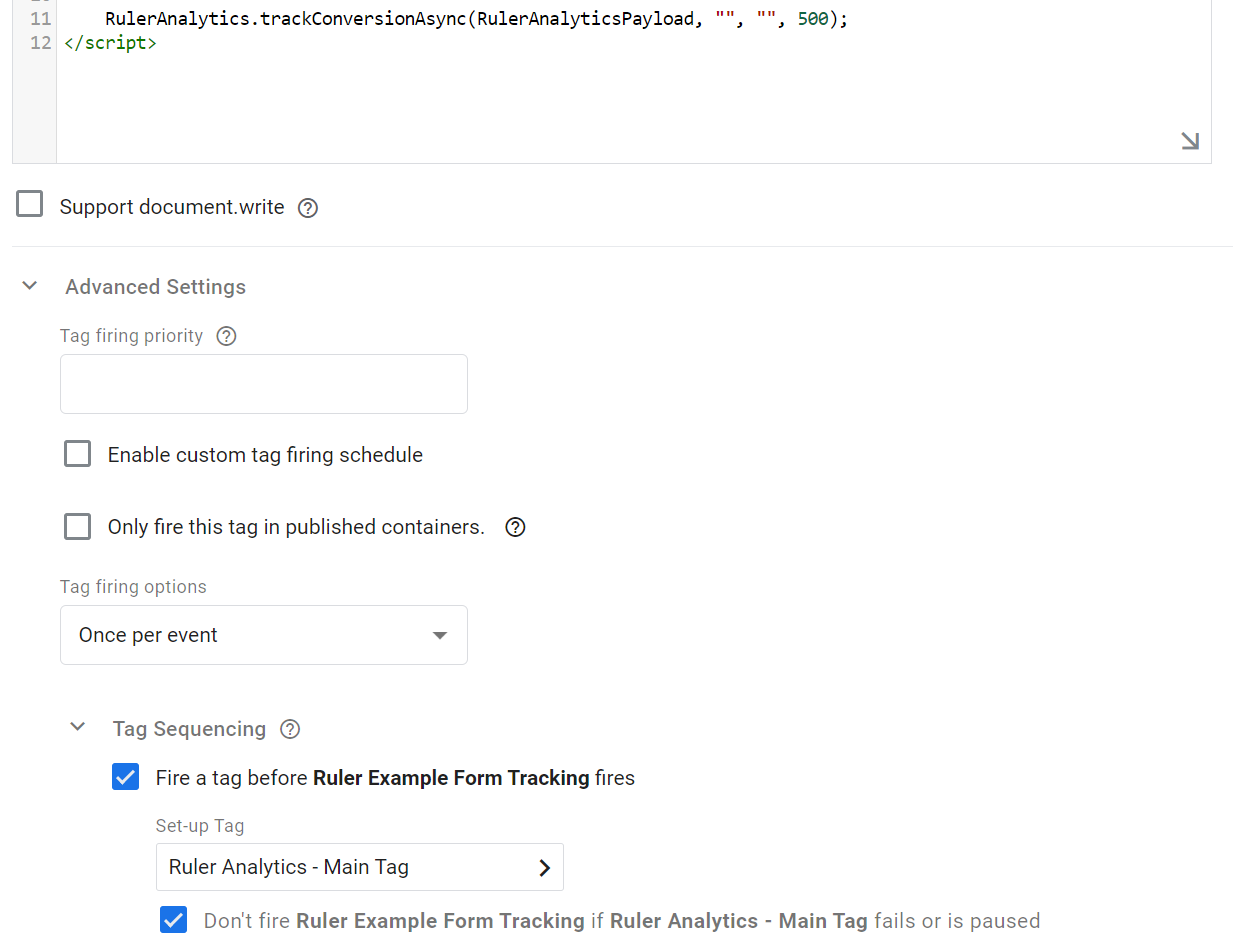
If you have already set the Ruler Analytics base tag via Google Tag Manager, it is essential that this fires before any custom form tracking. To do this, follow these steps:
- Go into advanced settings underneath the HTML
- Then go to Tag Sequencing
- Choose “fire a tag before Ruler Example Form Tracking fires”
- Choose your Ruler Analytics Main Tag as the “setup tag”
- Check “Don’t fire tag if Ruler Analytics fails or is paused”
Your output should look something similar to below (tag names may differ depending on a historical setup).
If you do not already have the Ruler Analytics base tag installed via Google Tag Manager, please follow this guide before implementing any custom tracking.
If you have the Ruler Analytics base tag 'hard coded' on your website, we recommend migrating this to Google Tag Manager to ensure consistency of tracking methodologies. If you are unsure, please reach out to [email protected].
Save the Tag, but leave this without a trigger for now, we will populate this later.
Step 2 - Create the trigger
The trigger setup depends on your website, but we always recommend using a click event trigger to ensure tracking is as robust as possible.
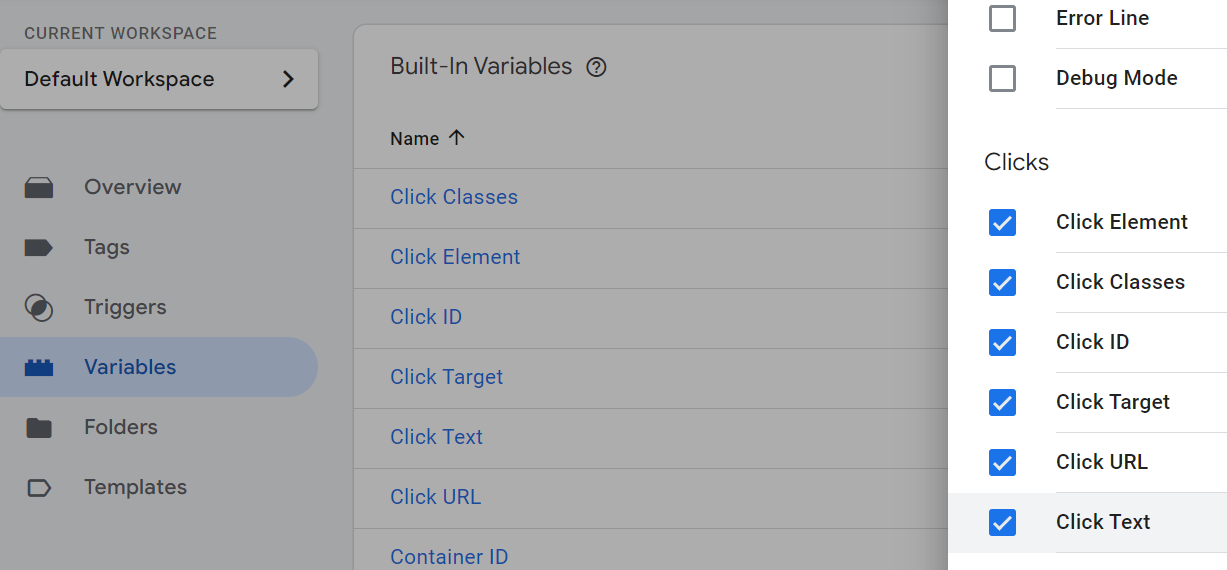
First, ensure that our click class or element variables are enabled within Google Tag Manager, this will ensure our trigger targets the correct click event. If these are already enabled, leave them as they are.
To do this go to variables > configure built in variables, and check every click variable. Your selection should look like the following:
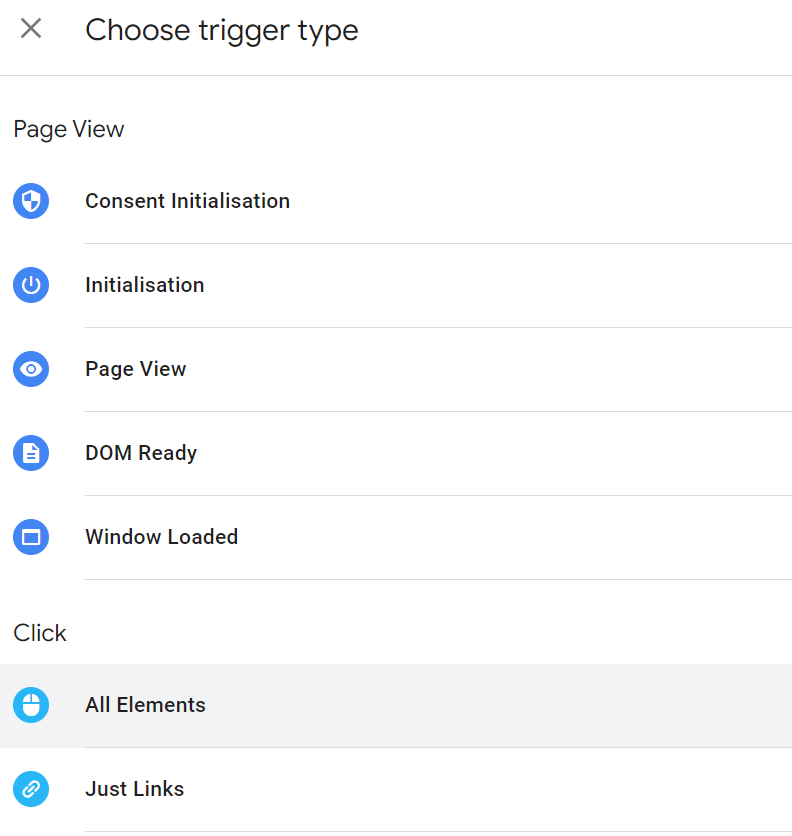
To create a trigger, go to triggers and select “new”. Then click “trigger Configuration”.
Select “all elements” as a click trigger.
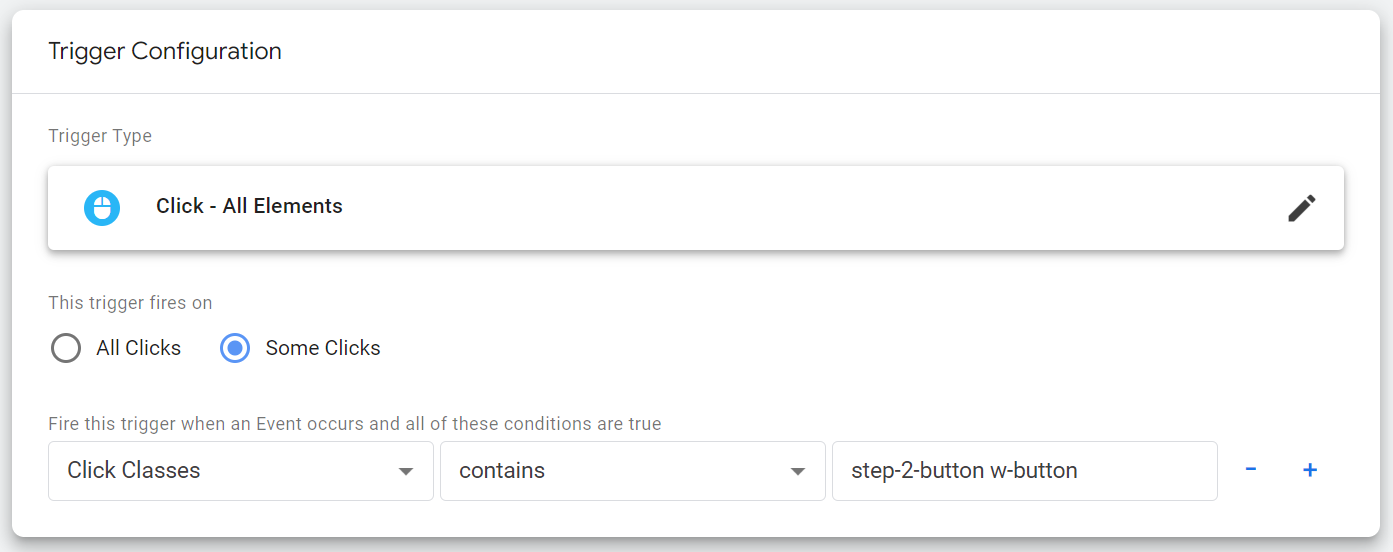
In the trigger configuration, select “Some Clicks” and set the trigger to fire only when the click matches the click classes that match your submit button.
To find the click classes, open another browser window (this example is using Google chrome). Open your website on the form submit page, right click on your submit button and click “inspect”
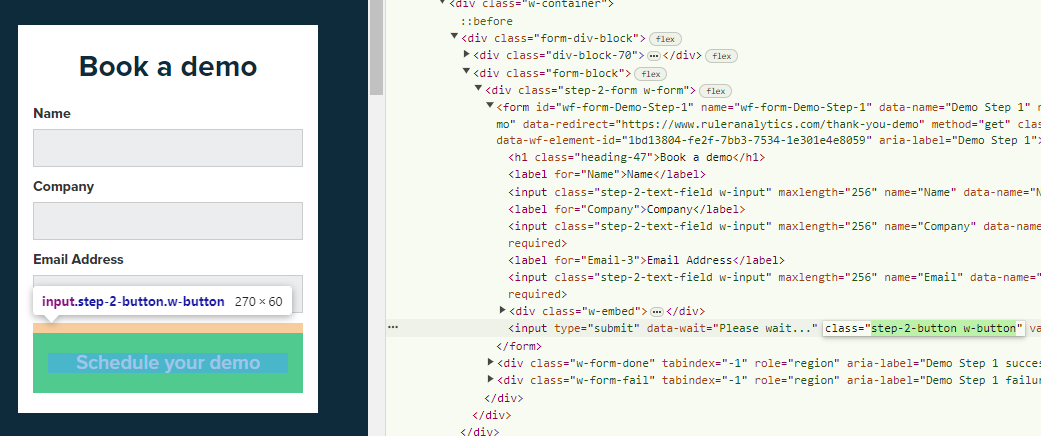
This will open up the chrome dev tools menu, where you will need to locate the “class” of your submit form button, double click this to enable you to copy the class value from the website code. Keep this window open as we will use it to create the variables also.
Save the trigger for now.
Step 3 - Create the variables
The variables will contain the email and phone payload of our tracking script, this is used to enable Ruler Analytics to close the marketing loop.
Go to variables, scroll down to “User defined variables”, then select “New”.
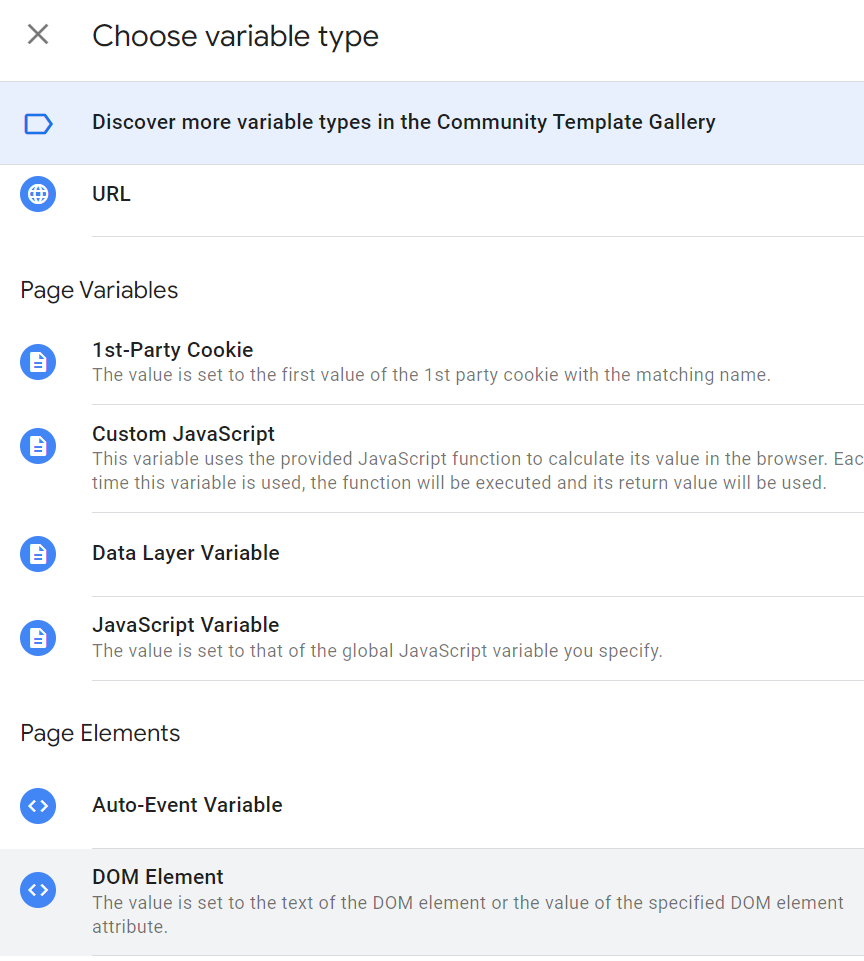
First, let’s create the email variable…From the variable list, select “DOM Element”
Back to your website, like before, inspect the element that contains the form field for email, but this time look for the “id” and copy into the element ID box in our variable.
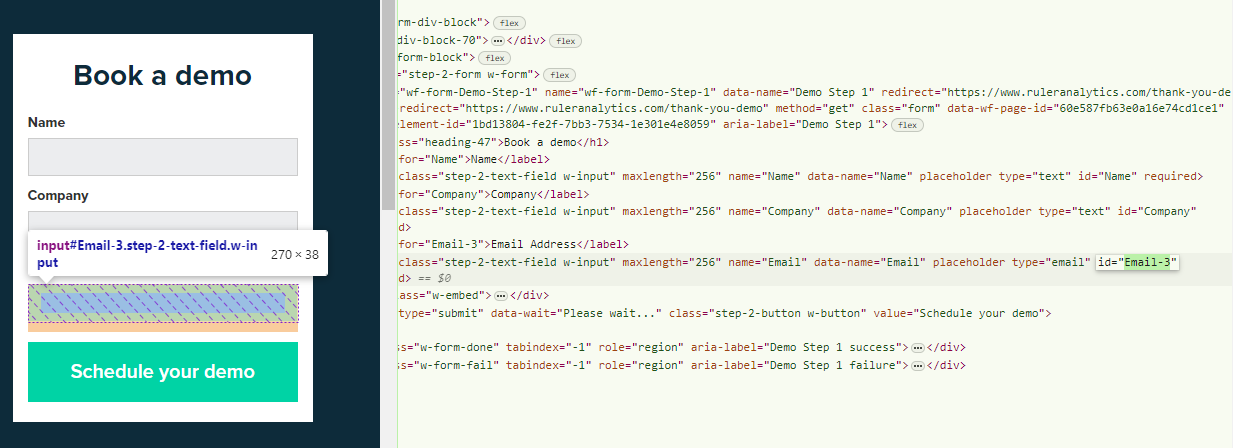
In the “Attribute name”, input “value” as free text, this will retrieve the field that is populated within the form when the submit button is clicked. The variable should look like the below, ensure you have populated your own unique Element ID field

Save the variable, then repeat the process for the phone number field if your website form has this available. If not, proceed to the next step.
Ruler analytics requires either the email address or phone number to be populated to receive the events correctly.
Step 4: Bring it all together
Now we have our tag, trigger and variables created, we need to unify them into a combination that works.
Go back to your original tag:
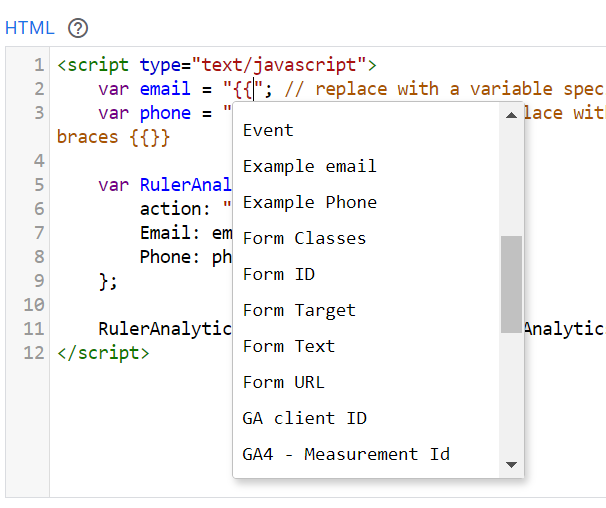
Replace the placeholder variables with the ones you have created, if you begin typing two curly braces {{ there will be a dropdown menu that appears that contains all of your variables. Select your email variable for the email “var”, and the phone variable for the phone “var”.
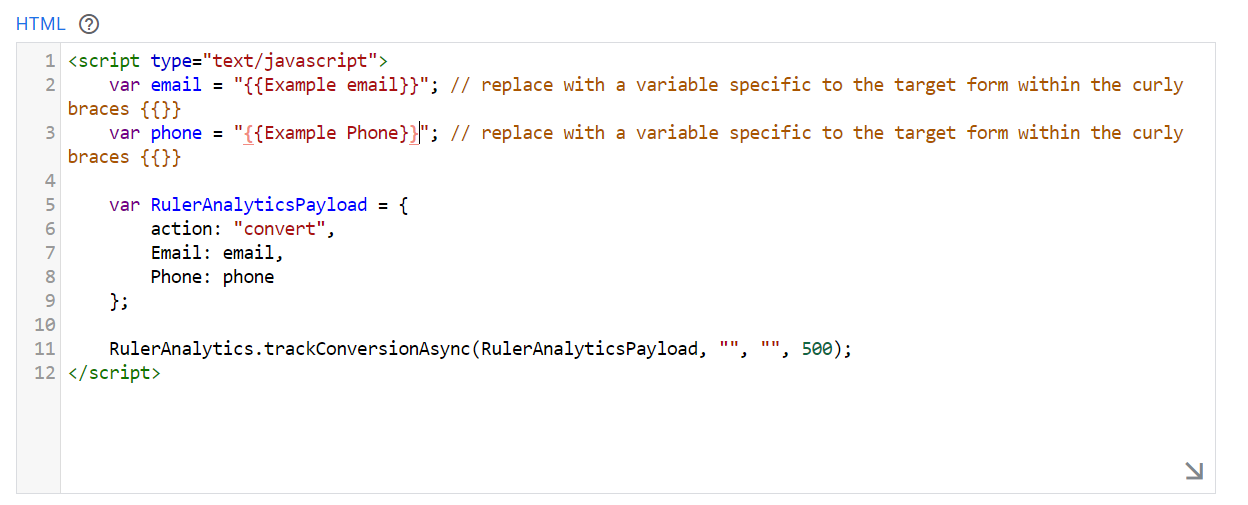
With both populated variables, your tag will look like the below:
Next, Add the trigger to the tag. Click on the “triggering” section within the tag:
Select the trigger you created earlier.
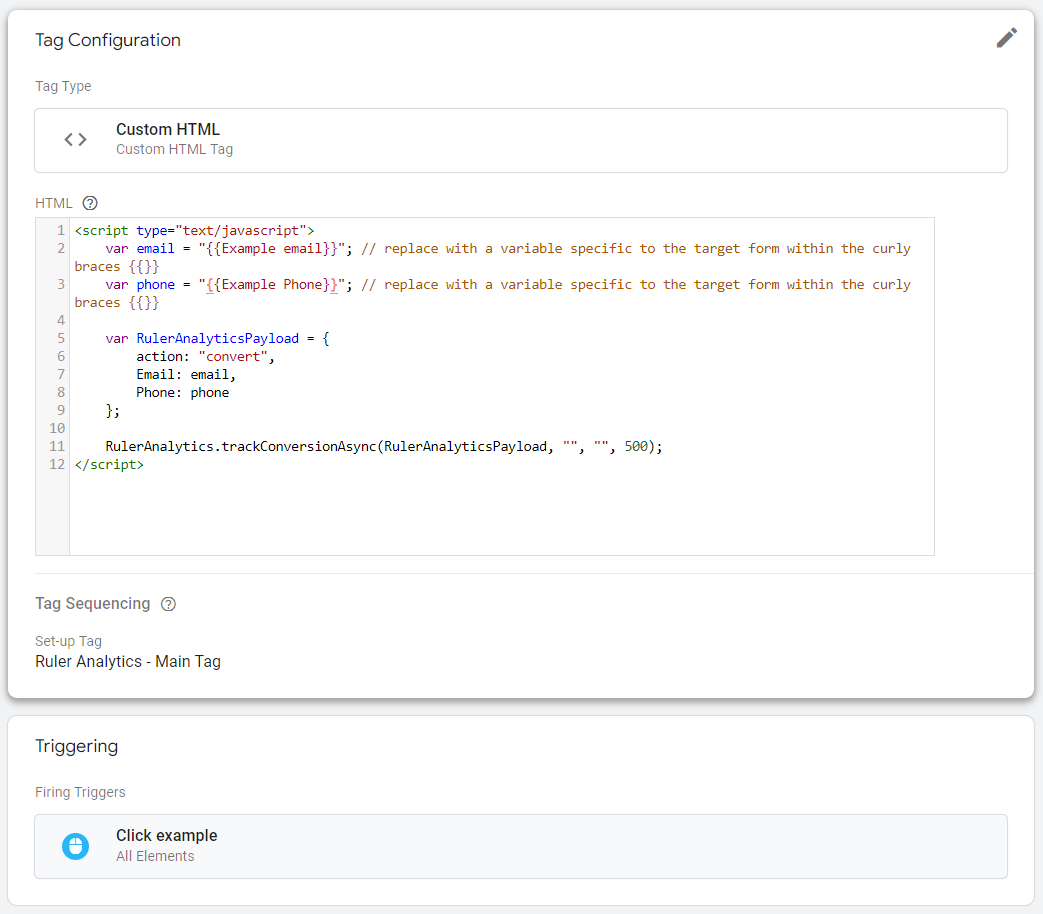
Your finished tag should look like the example below, except for the {{variable}} names
Step 5: Debugging
In the top right corner of your window, you will see the preview button as a white box
- Select the “preview” box to launch the preview mode.
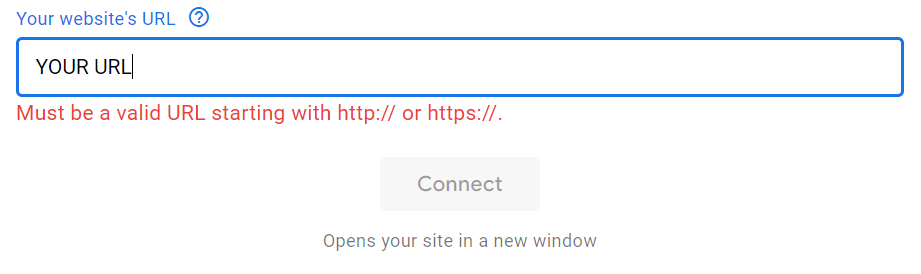
- Enter your website URL in the dialogue box
- Go to your form webpage
- Enter test fields into the form
- Click the submit button on your form
Note the click event that occurred when the submit button is clicked. This will appear on the left hand side menu with a number next to it. Click that message, then into tags, then your tag should have fired under the “Tags Fired” section.
Click on the tag card that corresponds to your form tracking tag. In the top right corner of the tag details, select “Display Variables as Values”.
Within the HTML, you should see the variables populated correctly with the actual details you entered in your test form submission. Use ctrl + f if you cannot see these easily.
If the variables are populated and your tags have fired, congratulations, you have setup custom form tracking for Ruler Analytics on your website!
If this has not worked as expected, contact [email protected] and we will be happy to help debug your setup to ensure everything is working correctly.
Updated about 2 months ago